
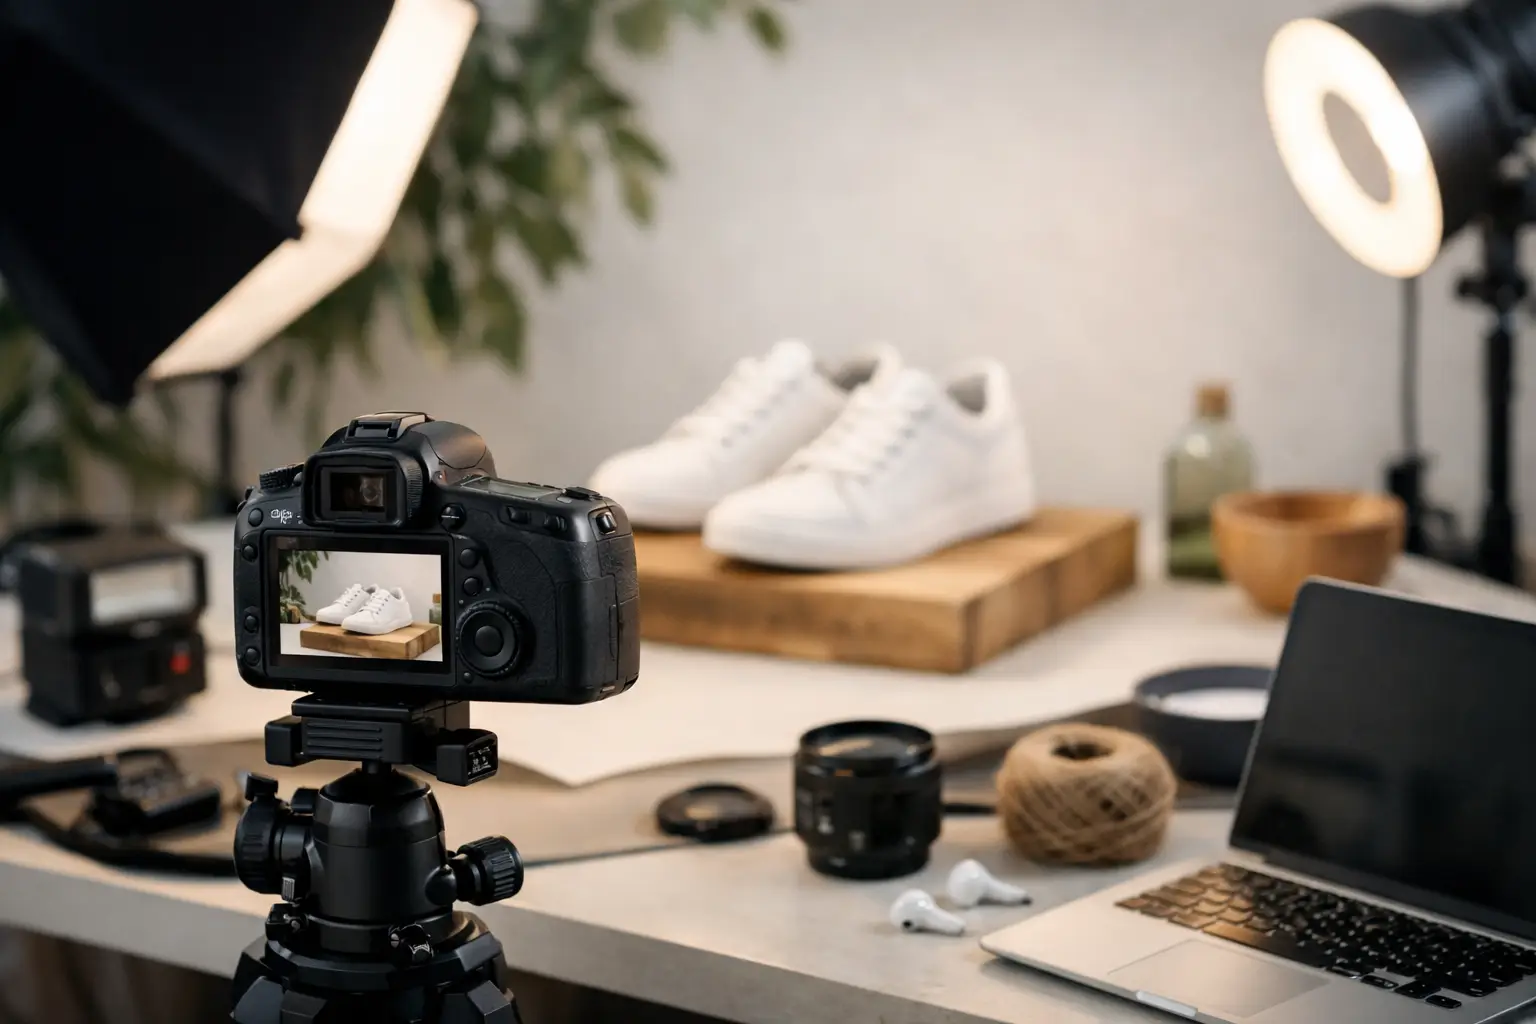
A product shoot can lose valuable time before the first frame is captured. A missing size sample, inconsistent label, wrinkled package, or unapproved prop can interrupt the schedule and dilute the final image set. Knowing how to prepare for product photography helps turn a creative production into a focused business investment – one that delivers imagery ready for campaigns, websites, sales materials, and editorial use.
Strong product photography begins well before lighting is placed or a camera comes out. The most effective shoots are built around a clear understanding of the product, the customer, and the brand response the images need to create.
Start With the Business Purpose Behind the Images
Before discussing backgrounds, angles, or styling, define what the photography must accomplish. A product image for an ecommerce page has different requirements than an image designed for a print campaign, a restaurant menu, a distributor presentation, or a social media launch.
Consider where the images will appear and what action they should support. Your team may need clean, consistent product cutouts for an online catalog, elevated lifestyle images that build aspiration, or detailed close-ups that communicate quality and craftsmanship. Often, a single shoot can produce assets for several uses, but only if those requirements are identified early.
Share the broader context with the photographer: your campaign objective, target customer, brand guidelines, distribution channels, and intended image formats. Collaboration is the key to creativity, but it also protects efficiency. When the creative team understands the commercial goal, decisions about lighting, composition, styling, and cropping become more purposeful.
How to Prepare for Product Photography With a Shot List
A shot list is not a restrictive checklist. It is the production plan that keeps the essential images from being overlooked while leaving room for creative opportunities on set.
Begin by grouping the products that need to be photographed. Identify every SKU, colorway, size, variation, package format, or bundle that requires its own image. Then describe the image types needed for each item. This may include front, back, side, detail, packaging, in-use, group, and environmental images.
For a small collection, a concise spreadsheet may be enough. For a larger product line, include product names, item numbers, approved descriptions, priority level, required orientation, background preference, and notes about specific features that must be visible. Reference images can be useful as well, especially when they show an established visual direction rather than a style you expect to copy exactly.
Prioritize the must-have shots. Production days have a rhythm, and a strong team can work quickly, but certain images may take longer than expected. Complex reflective surfaces, food styling, liquid motion, textiles, and highly detailed products all require additional care. A prioritized list ensures the images with the greatest commercial value are completed first.
Prepare Products as Carefully as You Prepare the Brief
The camera sees details that are easy to miss in person. Fingerprints, dust, label misalignment, dents, loose threads, scratches, and uneven product fill levels can all become visible under studio lighting and high-resolution capture.
Send more product than you think you will need. Whenever possible, provide several pristine samples of each hero item. This is especially important for food and beverage products, cosmetics, apparel, fragile packaging, and anything that may be opened, handled, styled, or altered during the shoot. A backup can save a setup when a product is damaged or simply does not present well on camera.
Inspect each item before delivery. Confirm labels are current, logos are correct, expiration dates are appropriate for the intended use, and packaging is free of shipping wear. If a product has components, make sure all parts are included and functioning. For apparel, steam or press garments in advance, and provide duplicates when possible. For bottles, jars, polished metal, and glossy surfaces, bring cleaning supplies and handle them carefully during transport.
It also helps to identify the hero sample in advance. If one product has the best finish, most accurate color, or strongest label placement, let the production team know. That clarity can reduce unnecessary trial and error once the set is built.
Make Brand Standards Visible on Set
Product photography should feel like a natural extension of your brand, not a disconnected visual exercise. Bring the resources that define how your organization presents itself: current brand guidelines, approved logos, color values, packaging standards, campaign creative, and examples of imagery that accurately reflects your visual identity.
These references help establish the right level of polish and personality. A premium skincare brand may need soft, sculpted lighting and restrained props. An industrial manufacturer may need direct, accurate imagery that emphasizes engineering, durability, and scale. A specialty food brand may need a more sensory approach, with texture, fresh ingredients, and a setting that suggests occasion.
Be specific about what should be avoided, too. If your brand does not use saturated color, overly rustic styling, heavy retouching, or a particular background treatment, say so before production begins. Clear direction is more useful than broad phrases such as “make it modern.” Describe what modern means in the context of your brand and customer.
Decide What Belongs Around the Product
Props, surfaces, and environments can provide context, but they should never compete with the product. The right styling answers a visual question: Who is this for, how is it used, and what does owning it feel like?
For some products, a simple studio background is the strongest choice. It creates consistency, supports ecommerce requirements, and keeps attention on shape, color, and detail. For others, lifestyle styling can make the product more meaningful by showing scale, use, or atmosphere.
If you are supplying props, bring options rather than relying on one exact item. Natural materials can vary in color and texture, and product styling often changes as the composition develops. Discuss whether props, talent, hand models, locations, or specialized surfaces are needed well before shoot day. Each element affects budget, timing, and the approvals required.
There is a trade-off to consider. Highly styled images can be memorable and campaign-ready, but they may date faster than clean product photography. A balanced image library often includes both: dependable core images for long-term use and more expressive images for seasonal or promotional storytelling.
Plan for Color, Scale, and Technical Requirements
Accurate color matters, particularly for products where customers expect a precise match. Share physical color standards, approved packaging samples, or brand color references when relevant. Screens vary, and color may shift across print, web, and social platforms, but an agreed reference point helps protect consistency throughout the production and post-production process.
Think about scale as well. If the size of the product is not immediately apparent, plan an image that communicates it naturally. A hand, an ingredient, a workplace setting, or a complementary object can help, depending on the brand and intended use. The goal is clarity without creating visual clutter.
Confirm technical needs before the shoot. Discuss preferred file formats, image orientation, final dimensions, background requirements, and whether you need room for copy in the composition. A website banner may require wide negative space, while a product listing may need a square crop and a pure white background. Capturing with those end uses in mind is far more effective than forcing a crop after the fact.
Assign One Clear Decision-Maker
A product shoot moves best when approvals are organized. Choose one primary contact who understands the brief, has authority to make timely decisions, and can gather input from other stakeholders before the shoot begins.
Too many real-time opinions can slow production and create conflicting direction. That does not mean collaboration should be limited. It means the team should align internally on priorities, visual references, and non-negotiables before arriving on set.
If several departments need to review the work, establish the review process early. Clarify who approves image selection, who provides consolidated feedback, and what the retouching expectations are. Product photography is often used across marketing, sales, ecommerce, and communications, so a clear approval path protects both quality and schedule.
Build Time Into the Production Plan
Good photography needs enough time for setup, adjustment, styling, and careful attention to detail. Products that appear simple can be technically demanding. Glass, chrome, glossy packaging, clear materials, and highly reflective surfaces may require precise lighting control. Food and beverage items may need to be refreshed repeatedly. Lifestyle scenes require coordination among products, props, talent, and composition.
Avoid treating the shoot day as the only deadline. Allow time beforehand for product delivery, sample checks, styling preparation, and final briefing. Afterward, schedule space for image selection, retouching, and internal approvals before the assets are needed publicly.
The best preparation creates confidence without removing the creative energy from the process. Bring a clear objective, camera-ready products, aligned stakeholders, and room for thoughtful decisions. From there, the photography can do what it should: make your product feel credible, considered, and worth choosing.